How to do your own Zines. Network 23 DIY Production.
The hand-made copies of Network 23 are ready. I shipped the babes and am now waiting for them to arrive to their new homes. I was taking some pictures during the production process and I thought the way i do it might be of interest so here it is.
Let’s start with a video explaining the most easy binding, the three holes stitch. That’s what I used for Network 23 and whenever I buy a ziney PDF. Shipping to EU is a mess right now so I prefer to craft the zines myself. Also most of them are produced by Mixam so I’m not really losing quality. There are notable exception of course, I’d really like to put my hands on the original of Through Ultan’s Door by Ben Laurence or A packet of Particular Peaks by L.F.OSR.
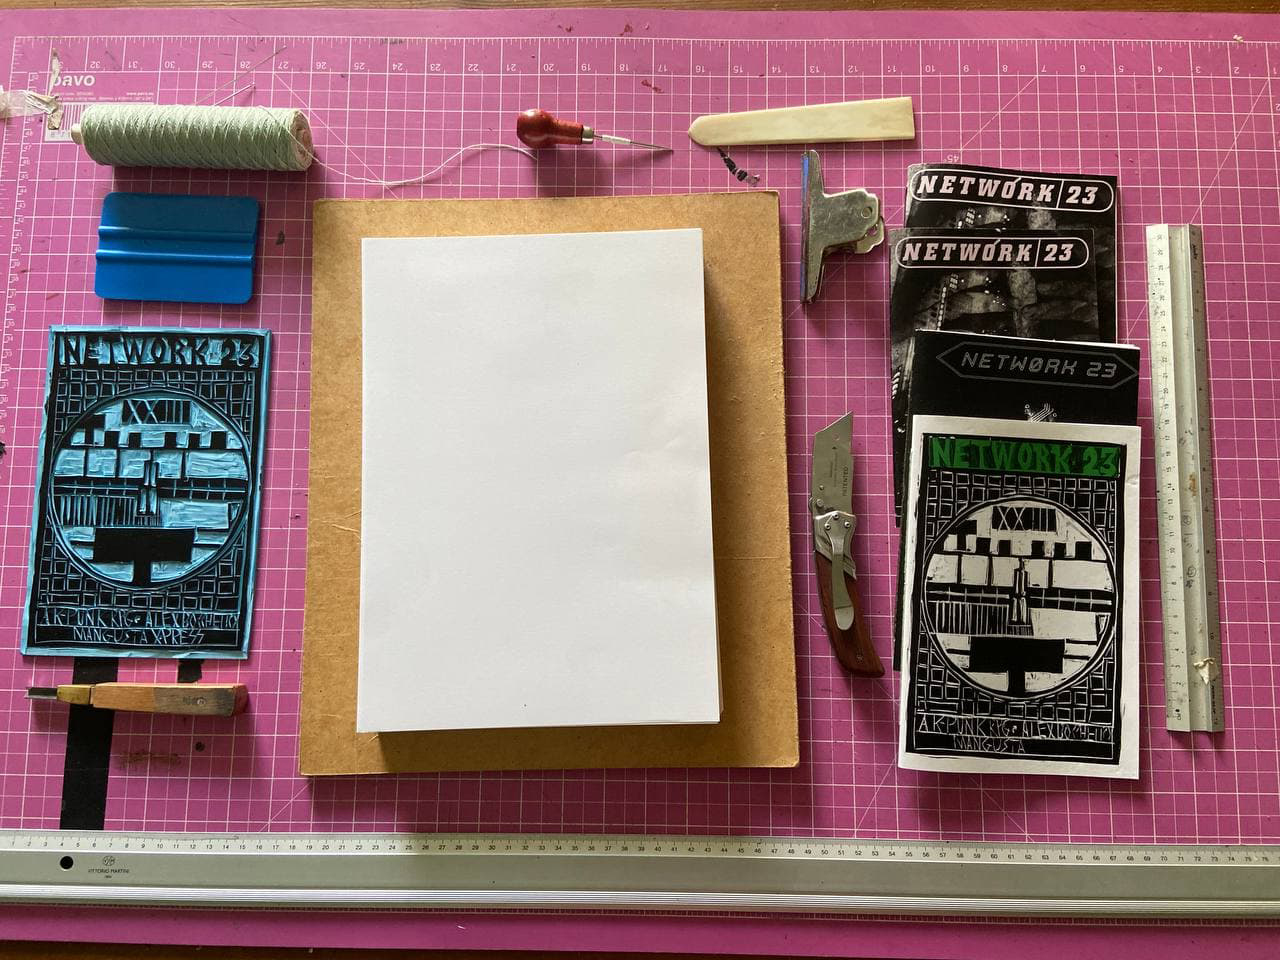
group photo with the tools before starting.
Pink cutting mat give good contrast and looks cool,
Safety metal ruler (good ones have non-slip plastic at the bottom and raised edges to keep your fingers safe).
Awl (the holes pointy thingy).
Bonefolder (usually it’s plastic nowadays, but the one in the picture is actual bone, from Turkey), needle and thread.
Stanley cutter (I got the fancy wooden handle but any will do), Stanley blades are the best I’ve found for this job.
A sheet of wood.
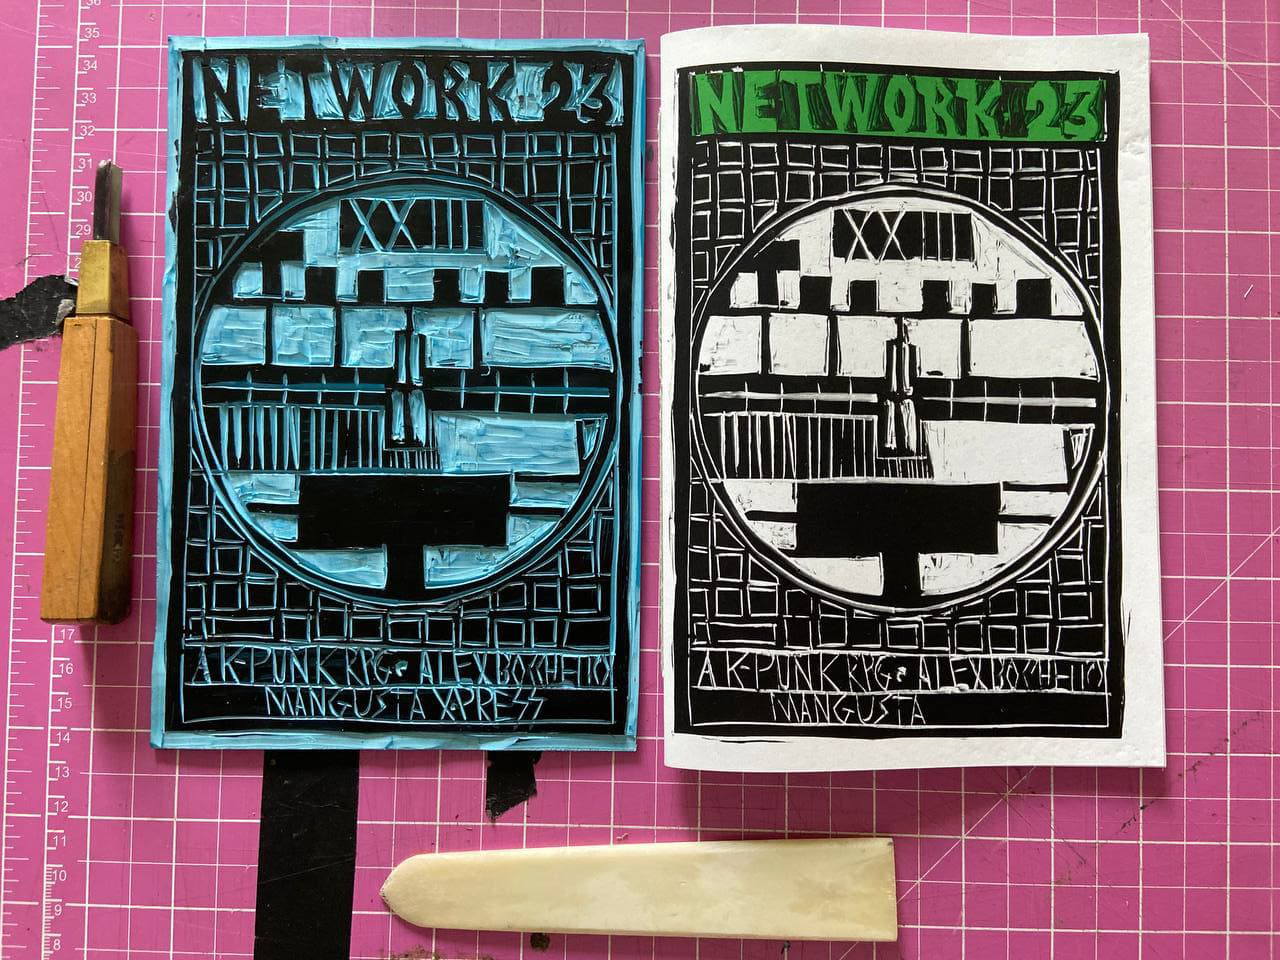
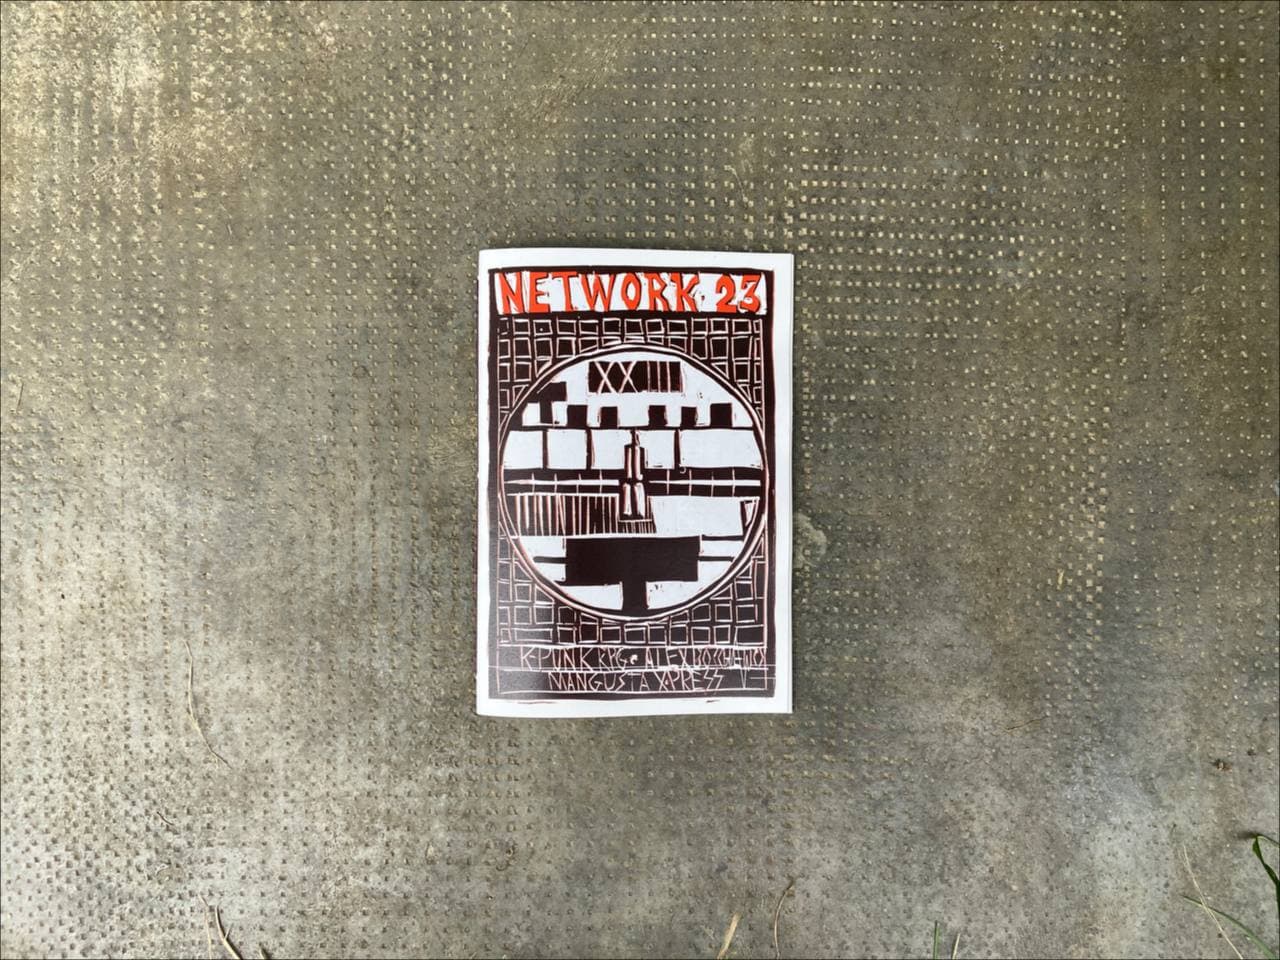
I did some linocut for the cover. It’s not linoleum, instead is a soft, blue material, way easier to cut through. I did not mirror the words cause I wanted to scan it instead of printing.
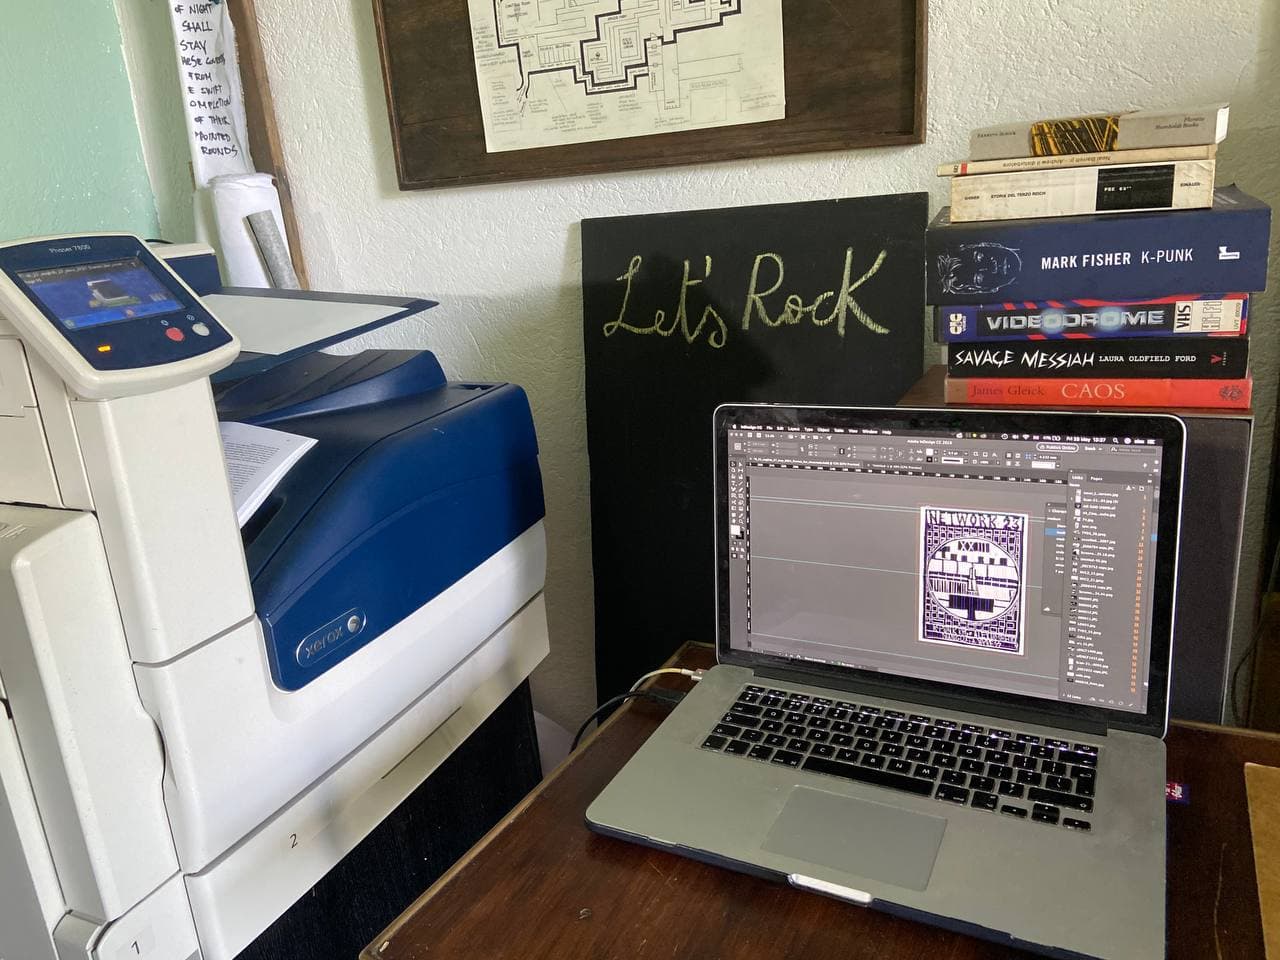
Here we go. Print as booklet. Front and back. Flip on the short side (awful, I always forget about this!). No printers’ marks because I am cutting the thing myself and I am only cutting one foredge. I was keeping tabs about the number of copies on the Let’s Rock blackboard.
Paper: I went for 100 gsm Fedrigoni and Favini paper. Good paper really makes the difference.
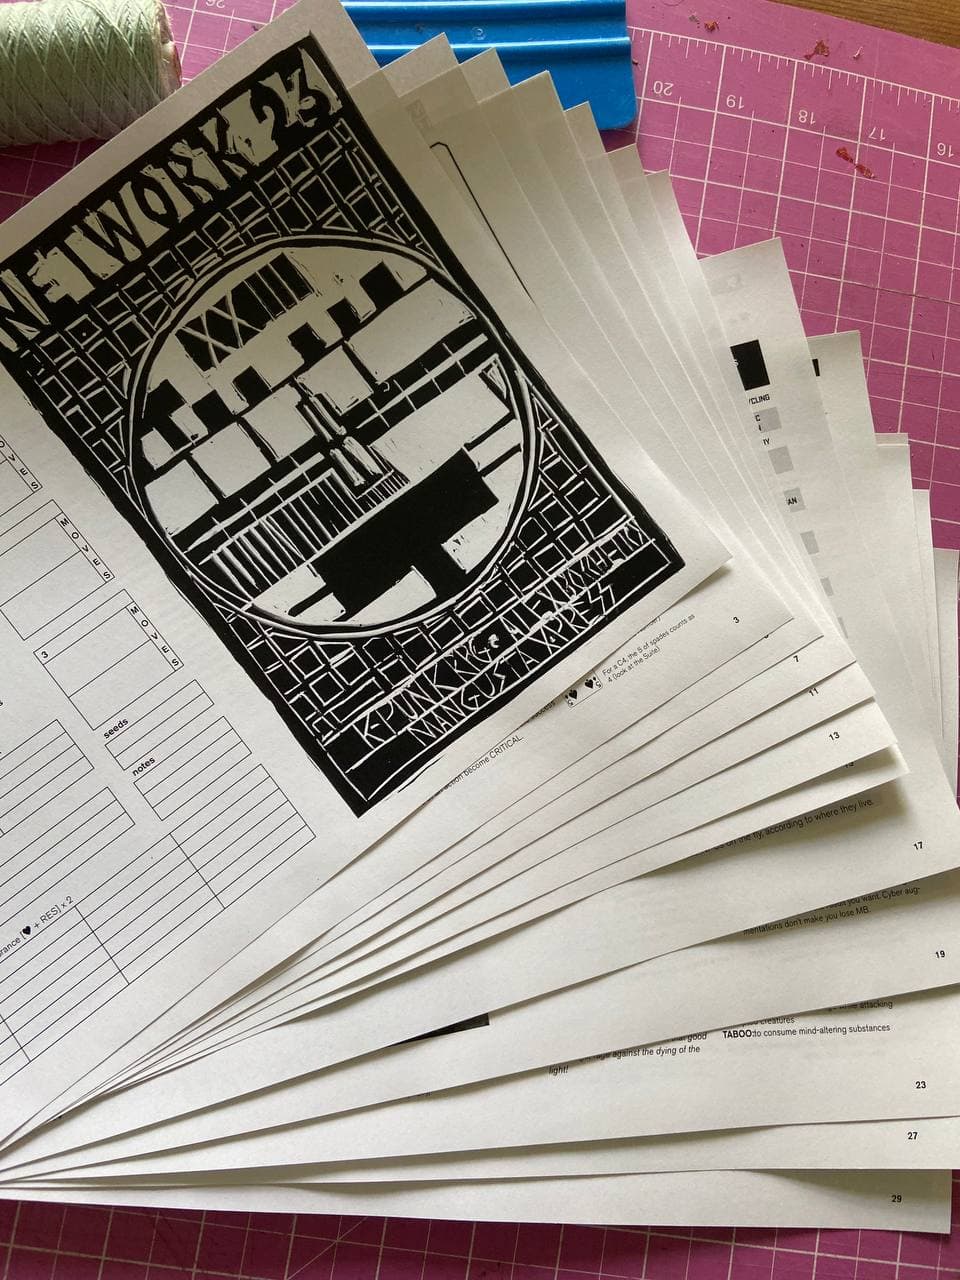
Print collated, so every copy is in order, huge time saver. here’s the first prints. Need to check them one by one to see if any page is missing (mostly they were ok).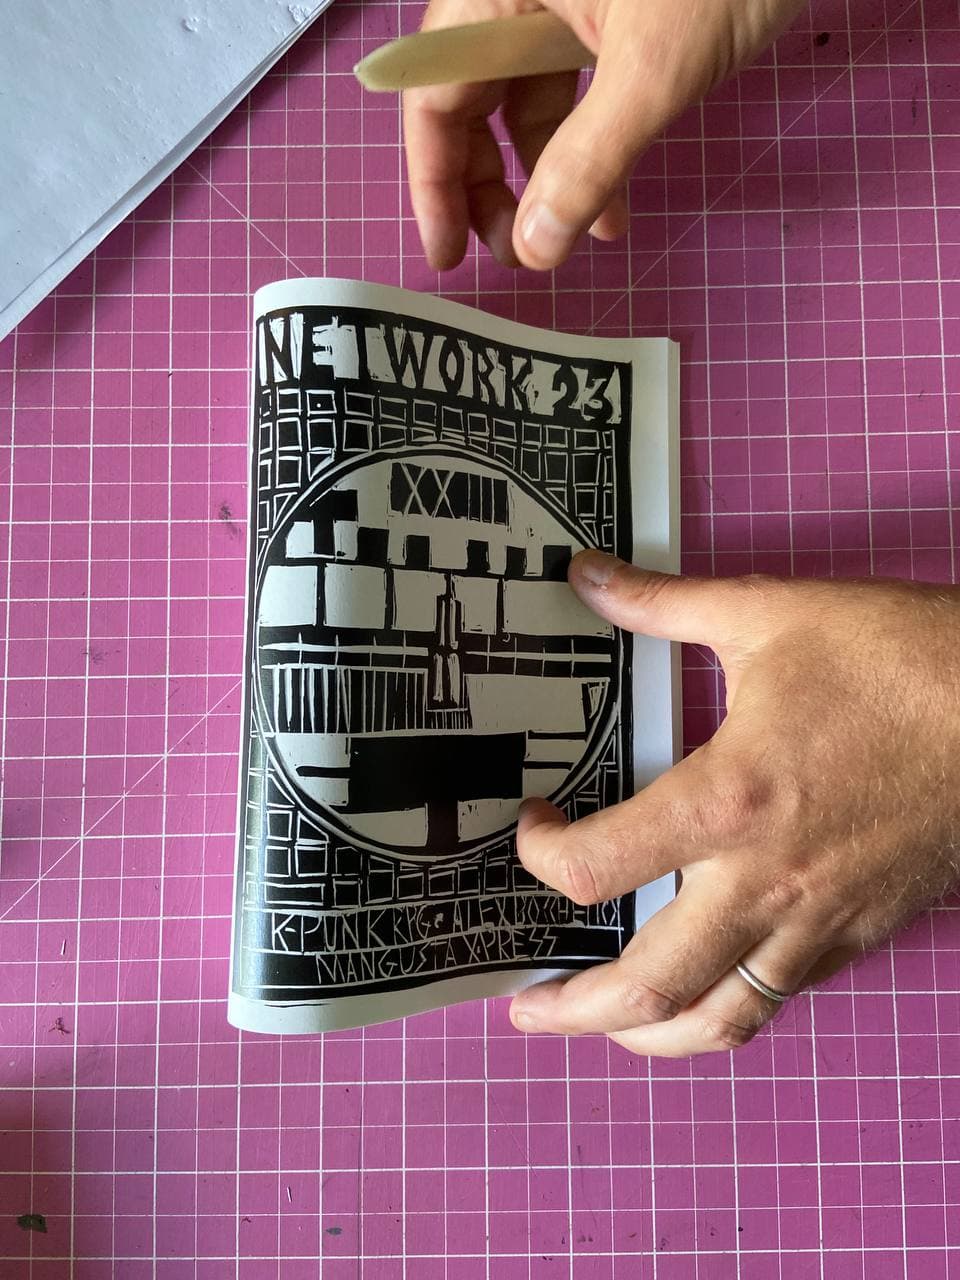
FOLDING! I make the borders coincide and fold it all at once. To have a better fold, I take 3-4 sheets at a time and press more. The zines close way better without need of spending the night under pressure.
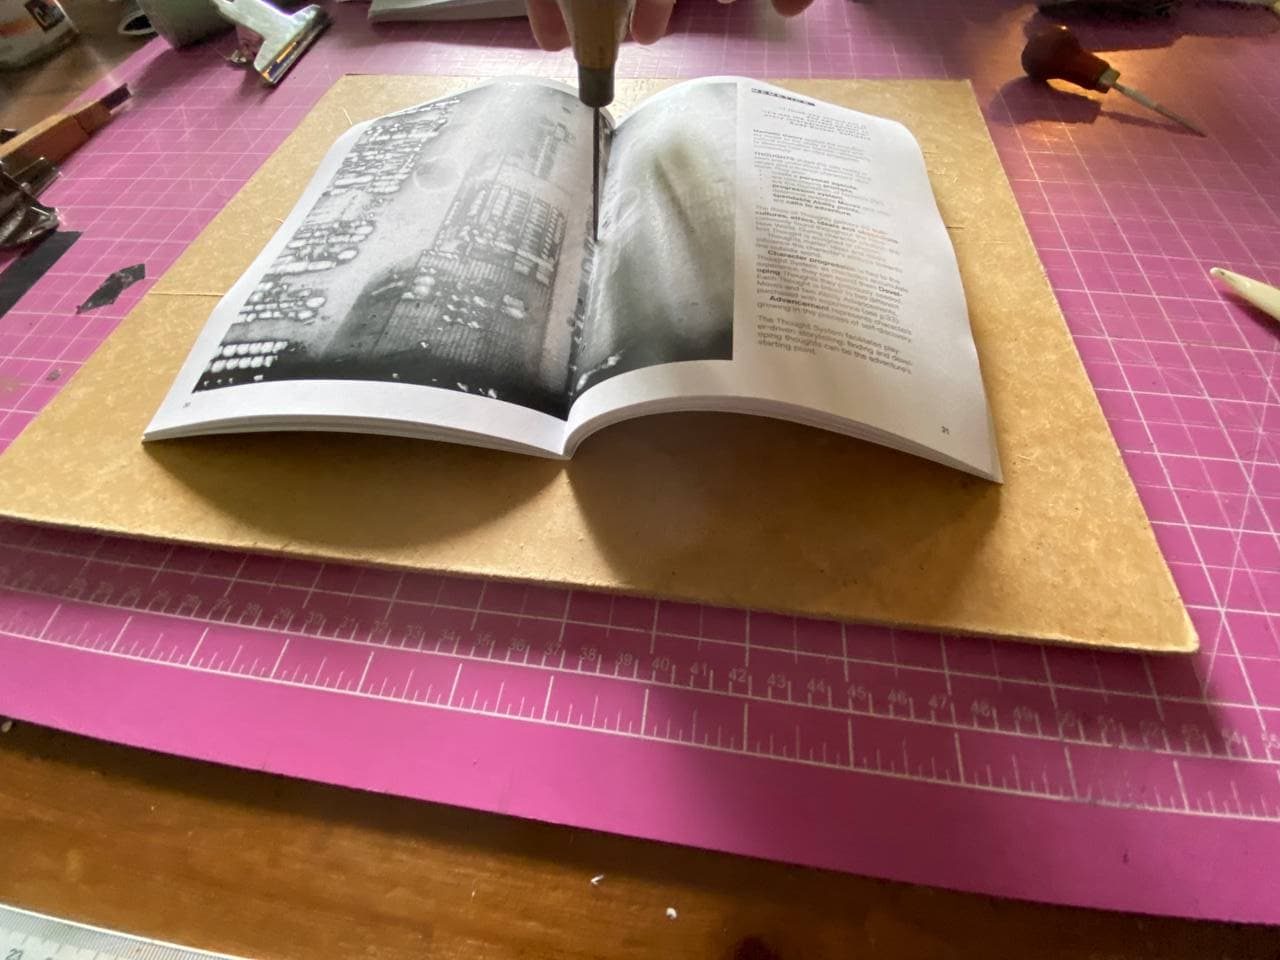
Drilling the holes with an awl!
The zine is folded, open the middle spread and put the pointy thing through it. Any pointy things will do, even a nail. Press.
One in the middle, two at the edges. Do it on wood, cause the cutting matt does not regenerate piercing damage.
Stitching it altogether, It’s easier done than said. Watch the video, really.
Thread the needle, leave few cm. of thread hanging, don’t tie any knot.
Start from hole #2 (middle hole), from the valley to the peak.
Go through Hole #1 from peak to valley,
Reach Hole #3, go from Valley to Peak,
Go back to Hole #2, this time from Peak to Valley (the starting point).
Tie together the two sides of the thread, wrapping them around the perpendicular line. Any knot will do.
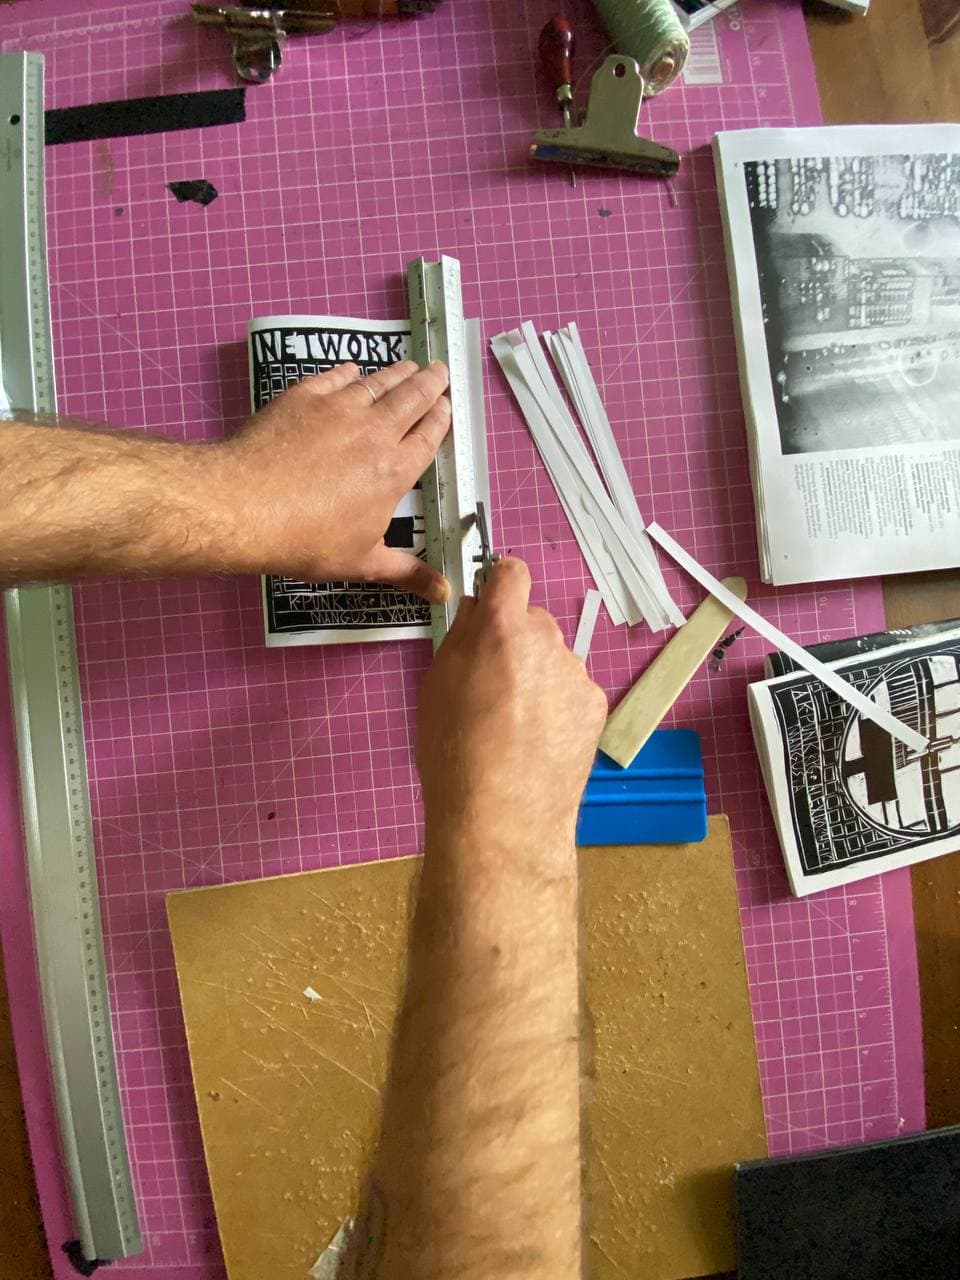
Time to cut the edges!
When I have many copies to do I use my stack paper guillotine, otherwise Stanley cutter is good enough. Take care when cutting by hands, these blades can cut through skin and meat real good. Don’t try to put too much pressure, let the blade run on the side of the safety ruler.
Usually you cut the upper side, the lower side and then the fore edge. The printed version of Network 23 needs only the fore edge cut, I designed it so to maximise the printing area. The only drawback is that I was not able to use full bleed images.
In total it took me around 3 days and night to print and bind all of the copies. Good music goes a long way.
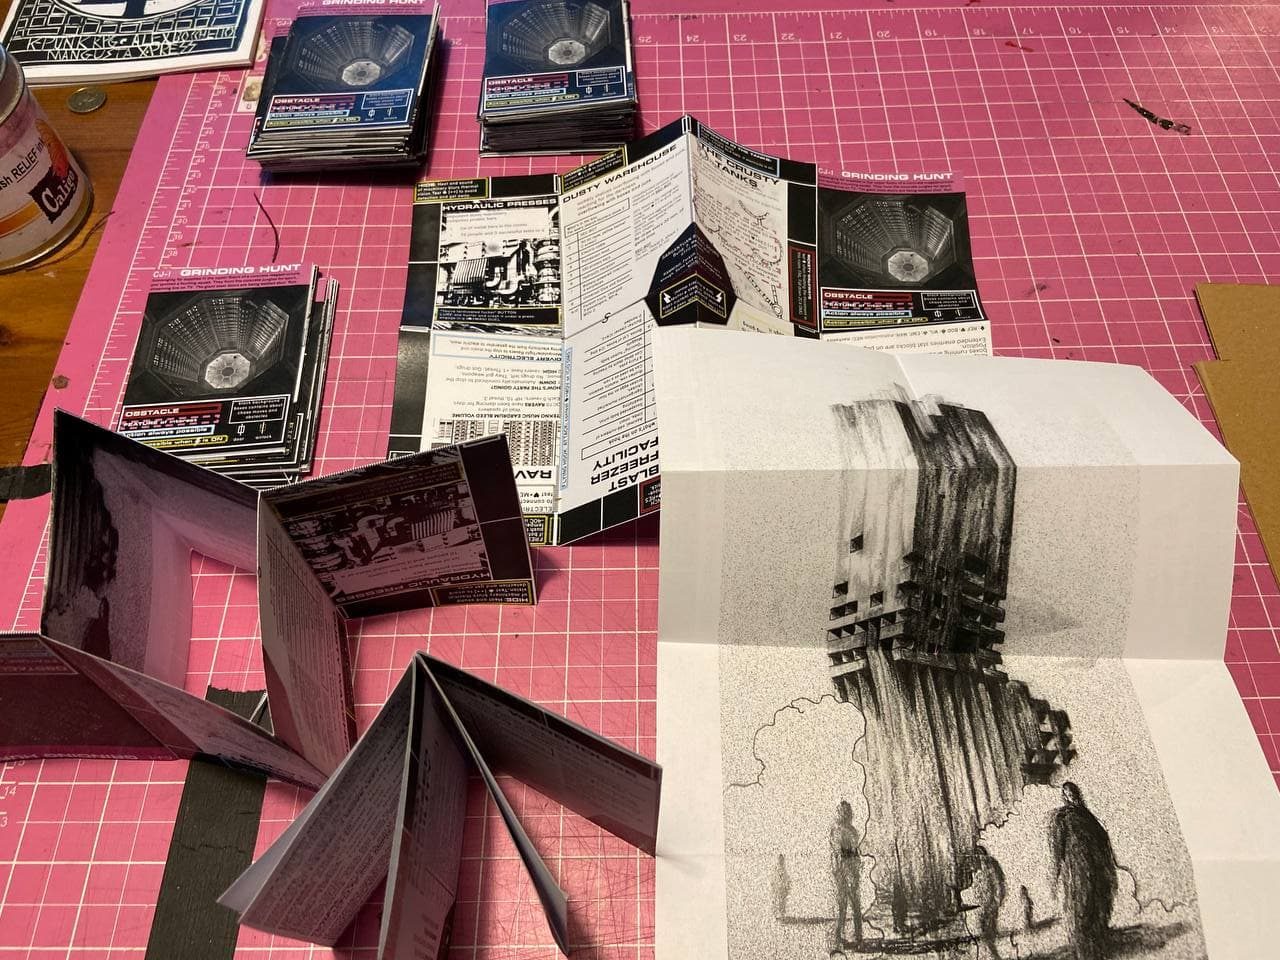
Since I like to complicate my life, I offered as a stretch goal a one page cyber funnel and decided to print a poster on the back. I don’t think I will print any more of these, it’s an insane amount of folding, took me one more full day of work to pull it off, but it’s pretty. The adventure has been play-tested and albeit being deadly, it’s survivable. I had fun replacing a crew of real-time TV hunters with a big badass cyborg which lose functionality every time its HP bar goes down. There’s a “you’re terminated fucker” button. Enough said.
“You were scavenging for food in a food reprocessing facility deep inside a mega structure. The big metal doors are shut closed and the whole floor is closed off. Somebody, or something, is coming after you. GTFO or die.”
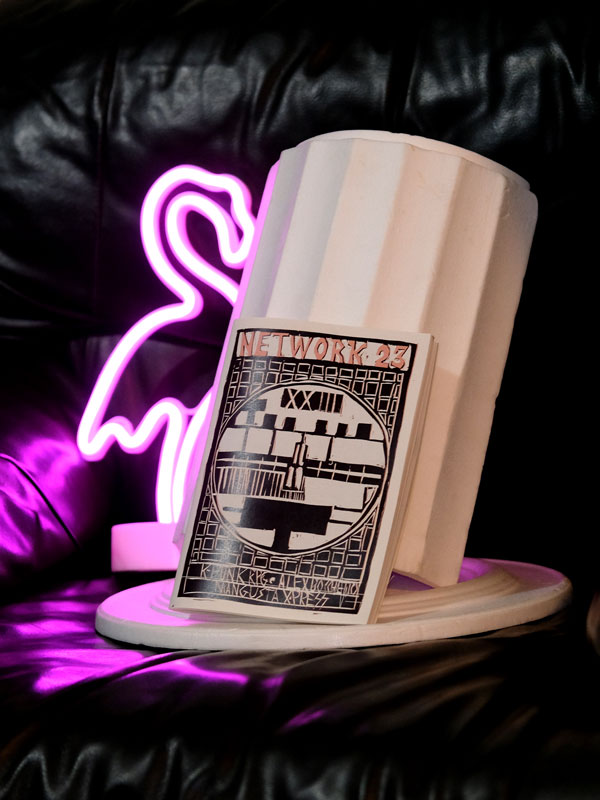
Et voilà, it’s that easy. Now it’s time to read! (and do stupid product pictures).
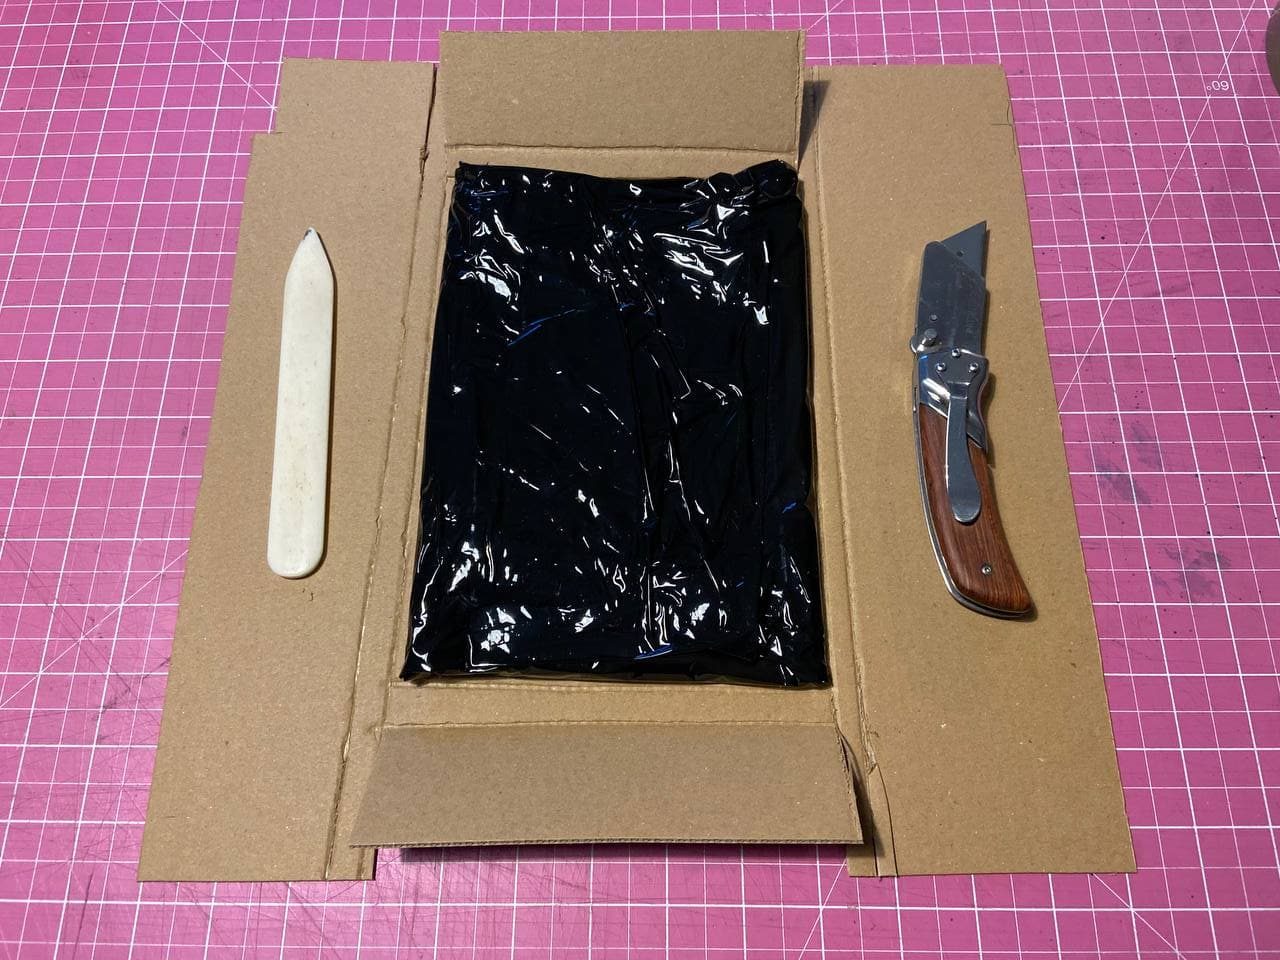 And this is how I packaged the copies for shipping. Since I’m crazy I did hand-made cardboard boxes. It took me one full day and more but hopefully it will save me some return of damaged copies so that I will have to deal with lost copies only.
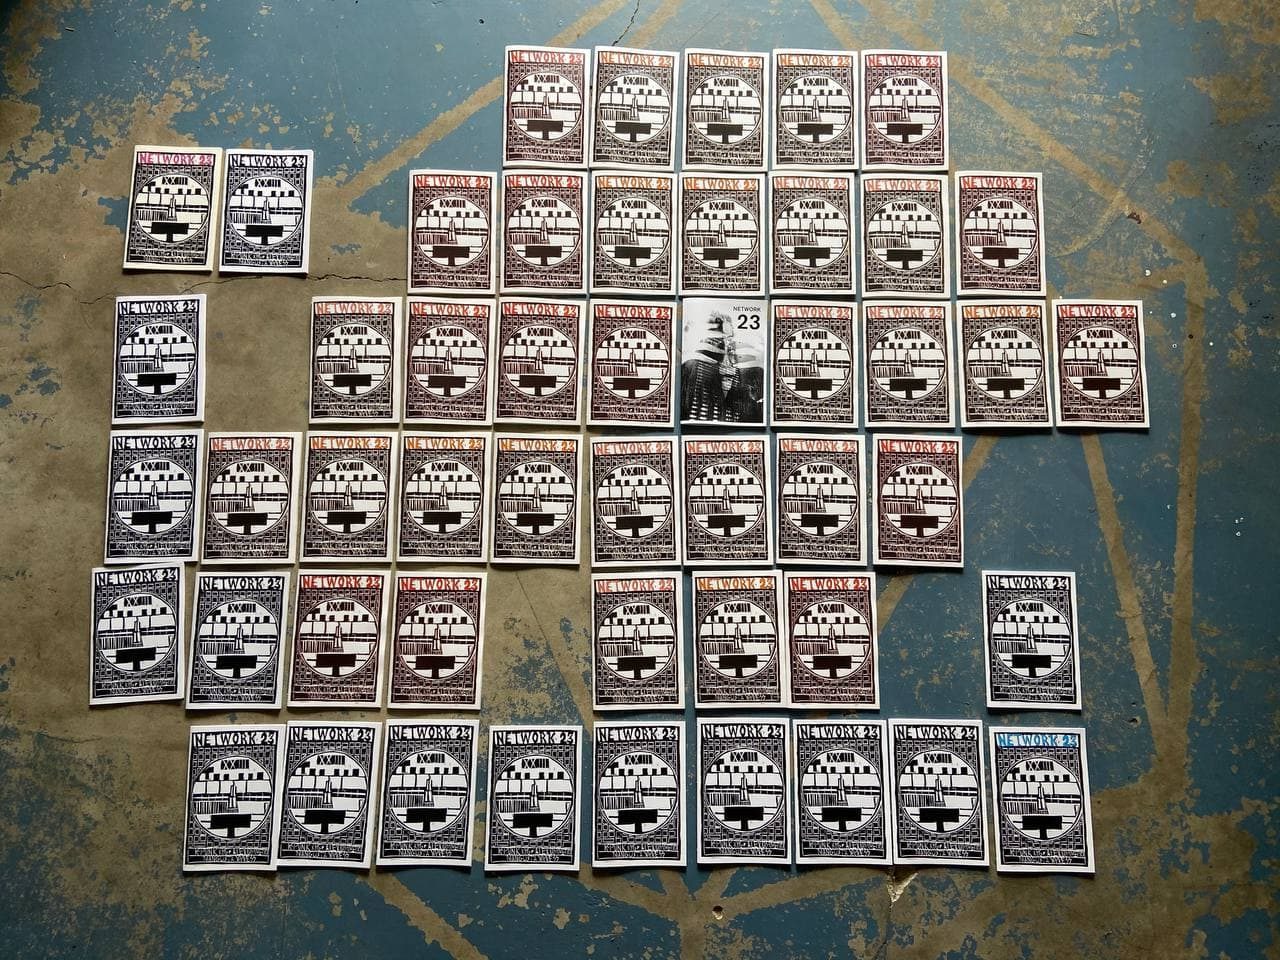
And here’s a (partial) group picture at the end of the work. The DIY process let me print variation of the cover with minimal hassle. Hope you will enjoy!
PS. while the production was taking place, I was posting on twitter, here is the . Thanks to everybody who interacted with me during the production week, your company was very much appreciated! here is the whole twitter thread: https://twitter.com/MangustaExpress/status/1398237380318879745
I printed few more copies of Network 23 which are still available, you can find them here.